Login | Sign Up | List of Plans | Payment Method
To purchase All in One Accessibility for your new website, select your suitable plan from https://skynettechnologies.com/all-in-one-accessibility and “Buy”.

To log in or out of your All in One Accessibility account, go to https://ada.skynettechnologies.us/front/login

Select the multisite plan based on your requirements for All in One Accessibility.

At login screen of dashboard and account, click on the “Lost Your Password?” and follow the instructions to reset it.

- Login to All in One Accessibility Dashboard.
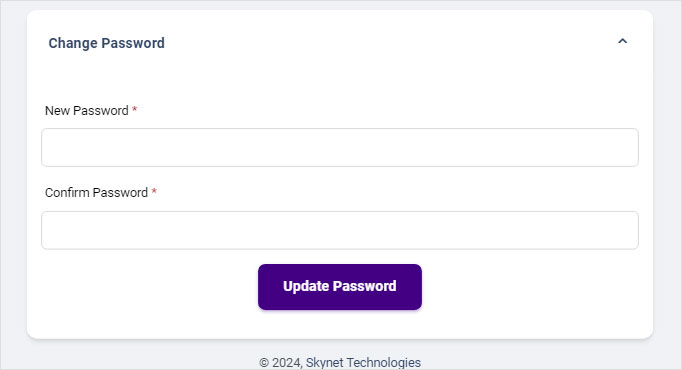
Under profile, there is an option to “Change Password”.

- Login to All in One Accessibility Dashboard.
Under Settings, you can find an option to Add New Card.


- Login to All in One Accessibility Dashboard.
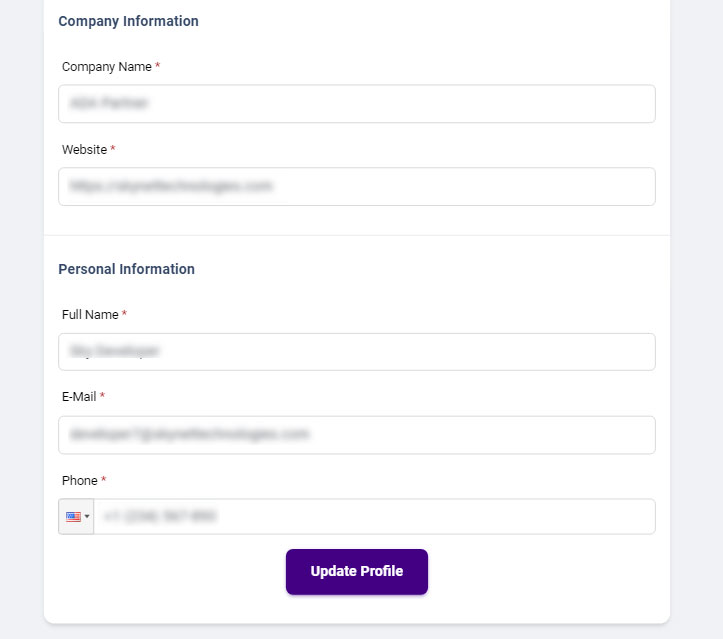
Under profile, you can change any information.

- Go to https://ada.skynettechnologies.us/front/login.
- Login with All in One Accessibility dashboard email id and password.
- In case if you do not have its credentials, click on the “Forgot Password” and reset it,
- In case if you have subscribed via Shopify or Wix platform, reach out to support@skynettechnologies.com with website domain name, and subject line “I need a help to access All in One Accessibility Dashboard”. We will get back to you in 24 to 48 hours.
Two Factor Authentication
Two-Factor Authentication adds an extra layer of security when accessing All in One Accessibility® dashboard. Users verify their identity through a secondary method - typically an email or mobile verification code - along with their standard login credentials.
Enabling two factor authentication strengthens account protection by ensuring that even if someone gains access to your password, they cannot log in without the second verification code. It significantly reduces the risk of unauthorized account access.
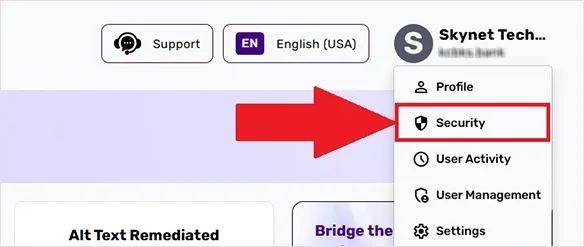
- Login to All in One Accessibility® Dashboard
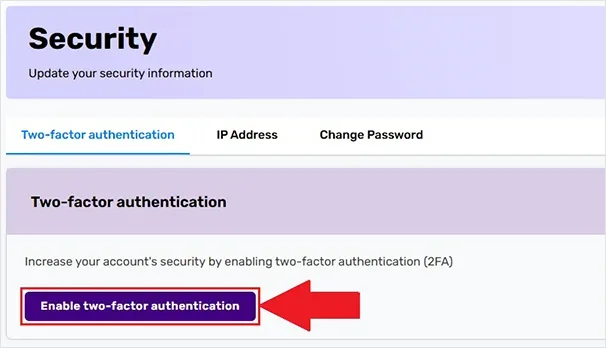
Select "Security"
Select “Two-factor authentication” Tab
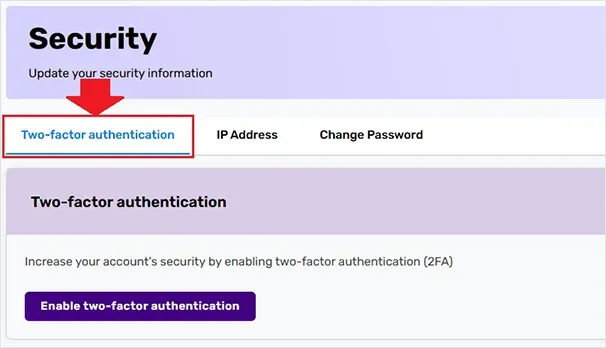
Click on "Enable two-factor authentication" Button
Register a one-time password authenticator
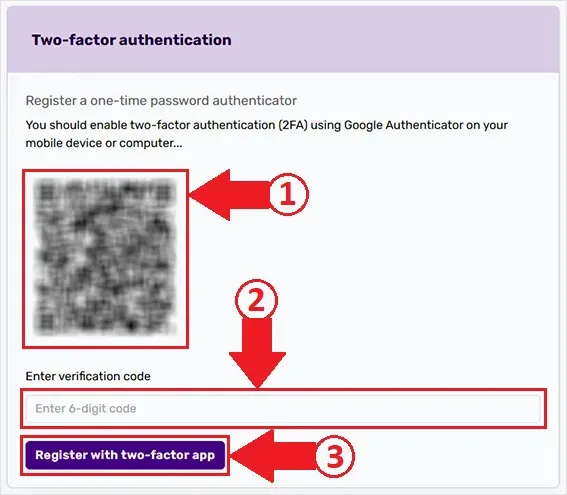
All in One Accessibility® typically supports one-time verification of codes sent via email or SMS. Depending on setup, additional methods may be available in the dashboard.
Yes, two-factor authentication will prompt a verification code each time you sign in. This maintains strong security and helps prevent unauthorized access.
You can request a new code from the login screen. If the problem continues, check the spam folder (for email codes), verify phone number (for SMS), or contact support for assistance.
User Access Management
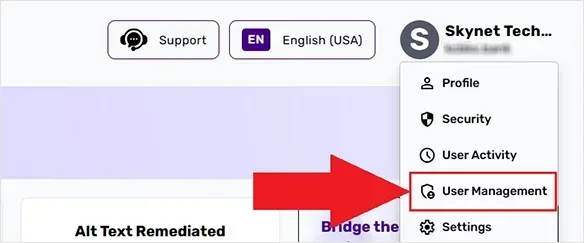
- Go to All in One Accessibility® Dashboard
Select "User Management"
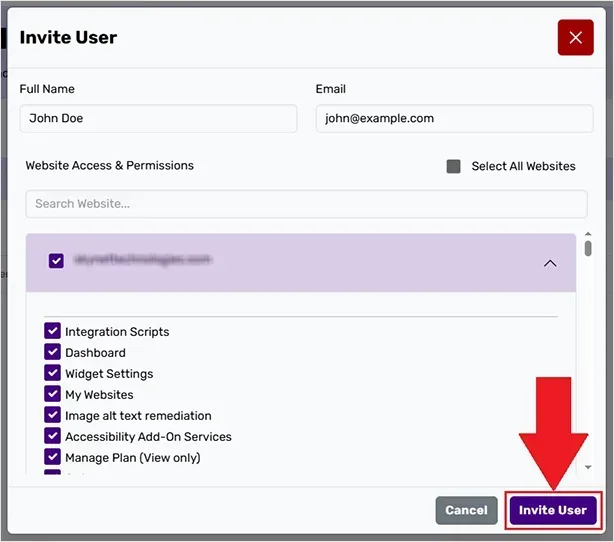
Click on "Invite User" Button
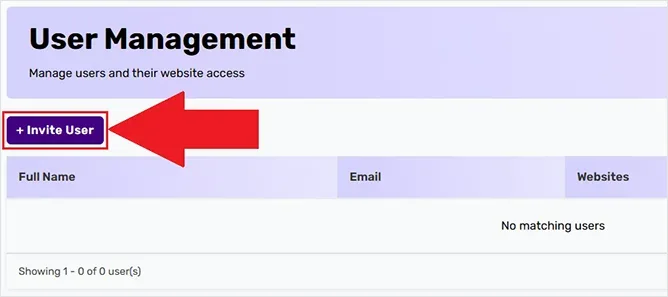
Enter the user’s name, email, website access and permission

Click on "Invite User" to send the invitation
IP Based Login Control
- Go to All in One Accessibility® Dashboard
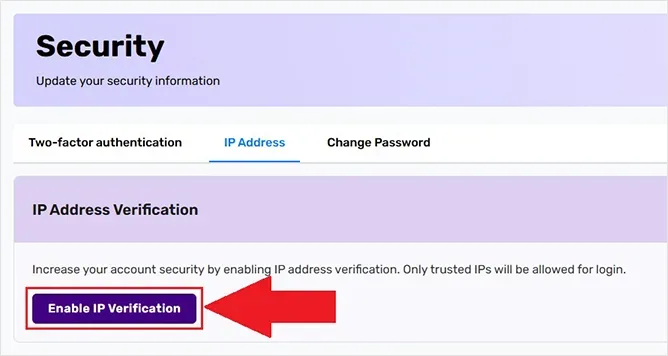
Select Security
Select "IP Address" Tab

Click on "Enable IP Verification" Button
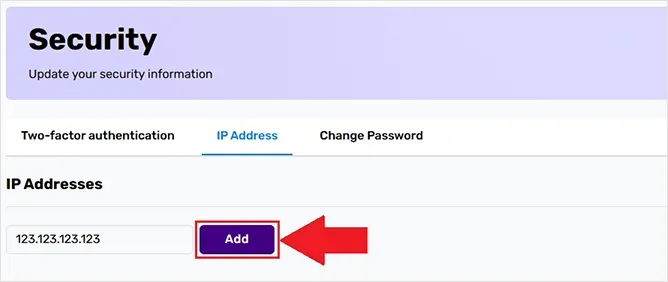
Add IP, enter the IP address or range, and save the changes
SSO Login Options (Google, Microsoft, Apple)
- On the login page
Click one of the following: “Continue with Google”, “Continue with Microsoft” or “Continue with Apple”
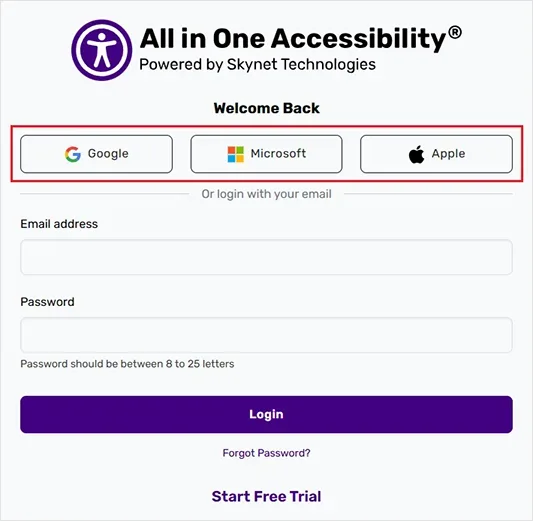
- Select the account when prompted, and it will be automatically logged in.
Check the following:
- Ensure you are selecting the correct Google/Microsoft/Apple account.
- Verify that your SSO email matches All in One Accessibility account email.
- Clear browser cache or try a different browser. If the issue continues, contact support@skynettechnologies.com.